Setup for Native Android Applications
Adding the ZSM Client SDK to your Android project
Note: The sample applications can be built to either a physical Android phone or to a virtual device using the Android Studio Emulator. In either case, you must set up biometric authentication on the device. The Emulator provides a way to simulate biometric authentication.
Integration Steps
Step #1: Open Android Studio
Step #2: Create a new Project
Select from the available templates, or choose “Blank” to start an empty project from scratch.
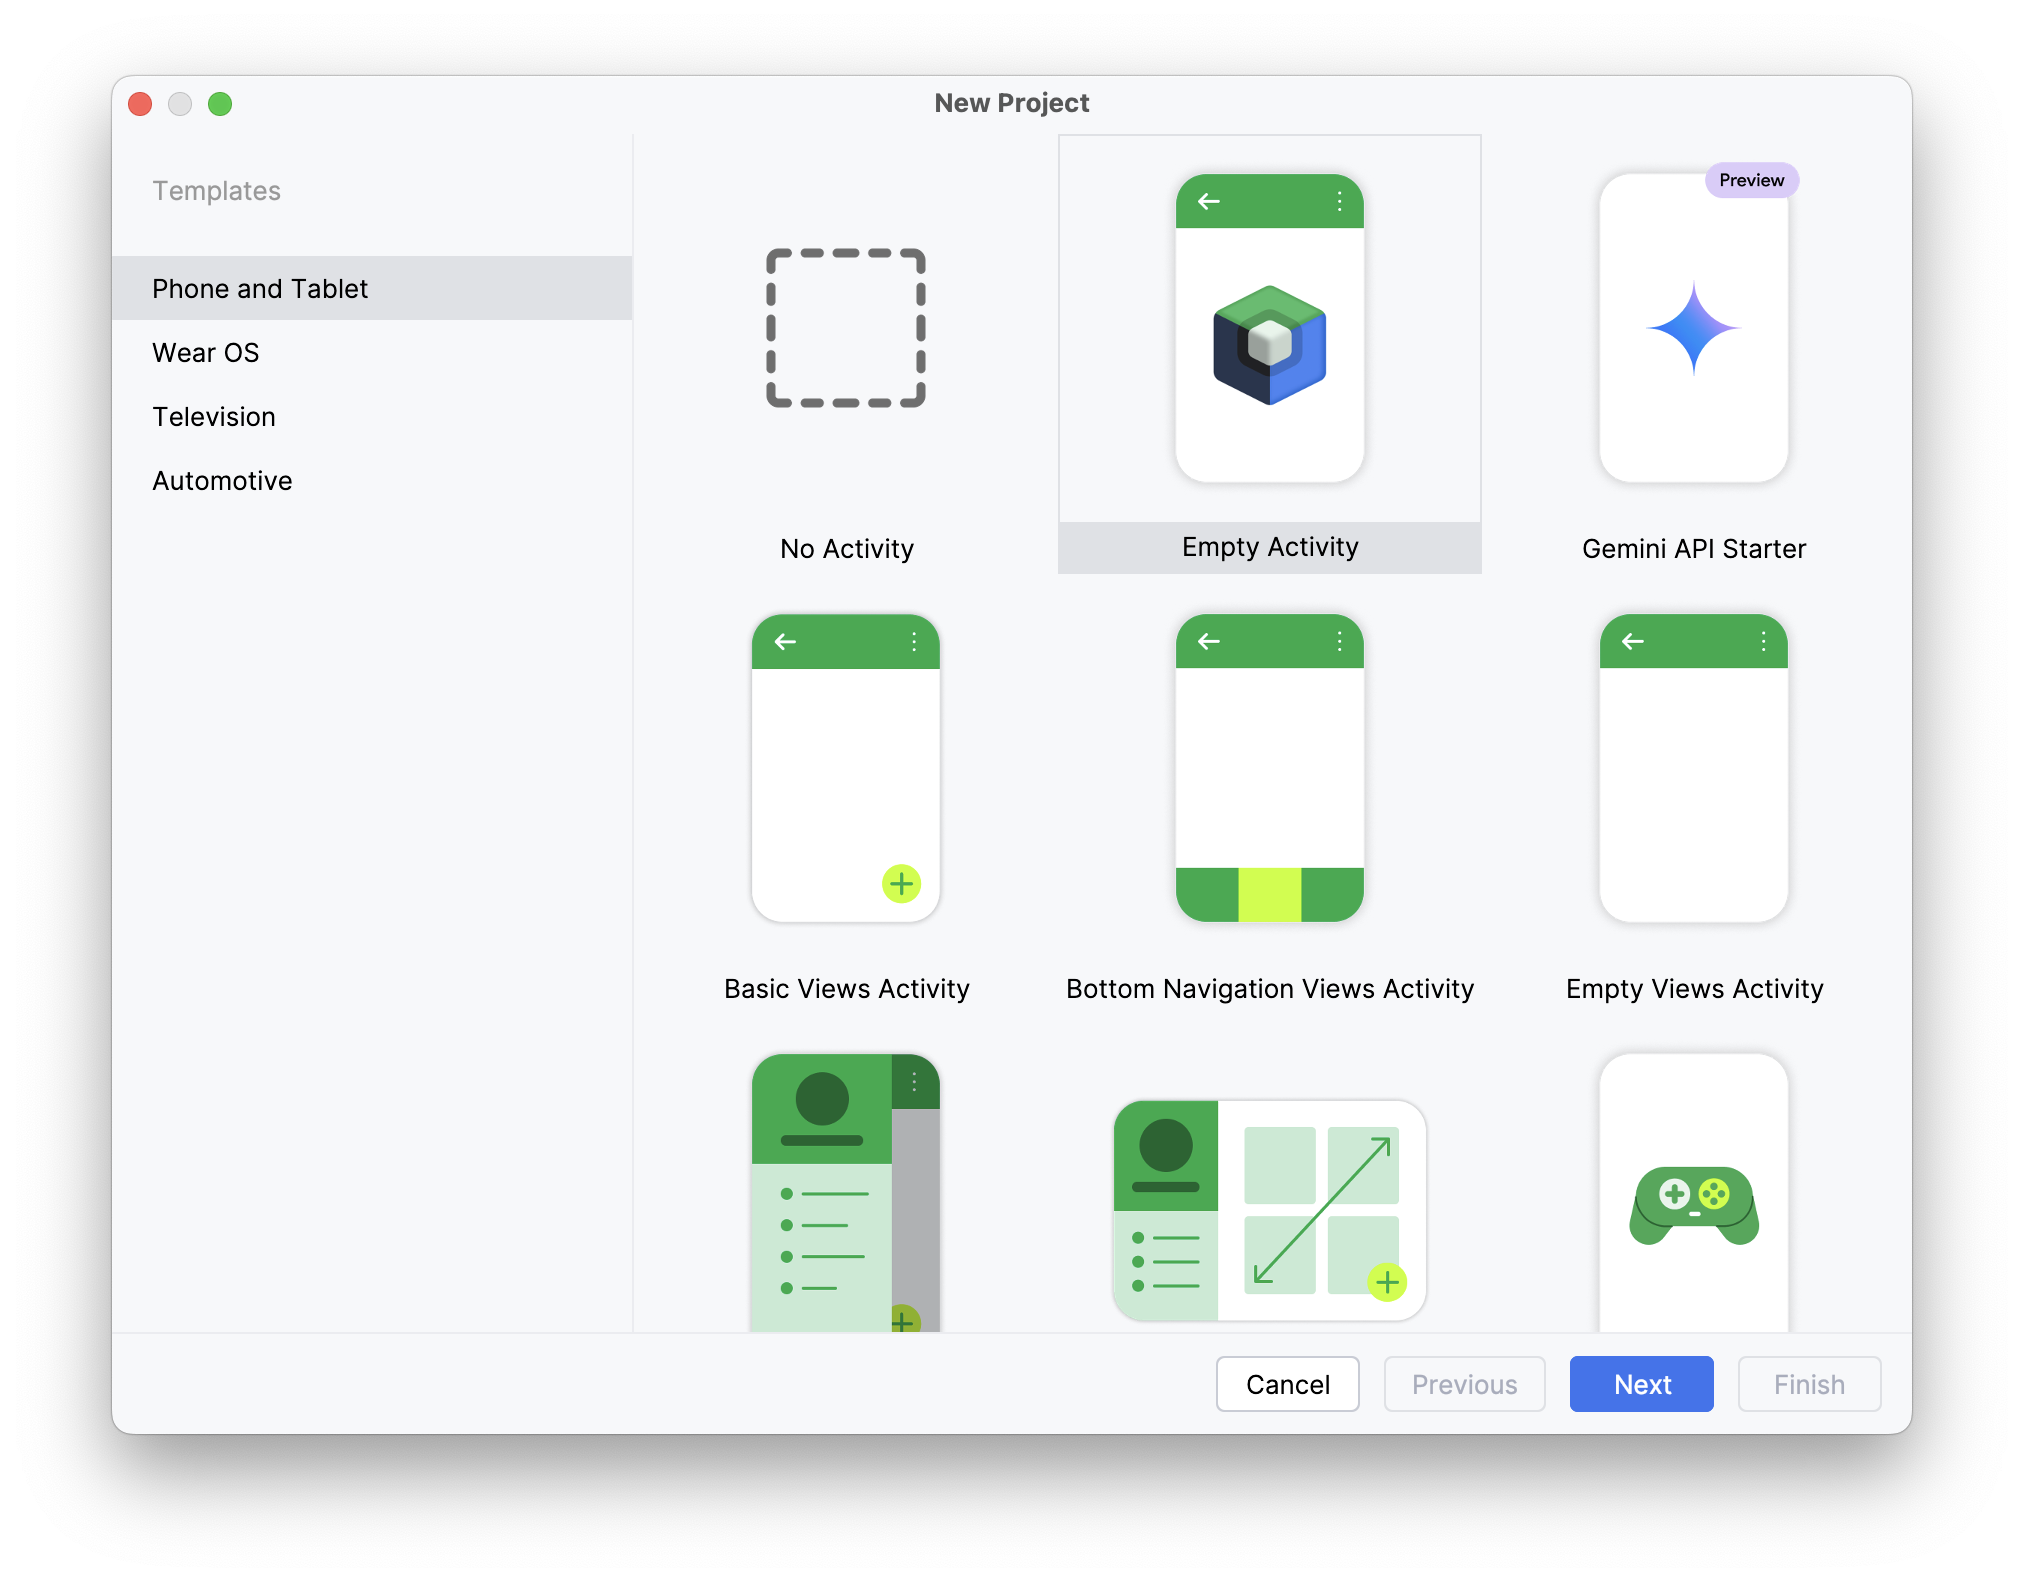
(NOTE: If working from an existing project, skip ahead to step 5.)
Step #3: Name the Project
Choose any name you would like and pick a folder you wish to save the project to. In this case, we will be calling it "Sample ZSM Integration" and scoping it to the “com.useideem.zsmclient.sample” namespace.
Step #4: Select the Programming Language You Wish to Use
Either Java or Kotlin.
Step #5: Select a Minimum Target Architecture
Choose the minimum target architecture and then click the Finish button. Keep in mind, the device architectures you intend to target will impact the set of features available to you (including biometrics). Be sure to be aware of your project's specific needs.
The ZSM Client SDK leverages CMake to produce a shared object (.so) to communicate with the ZSM Module and is designed to be universally compatible with the most number of platforms and devices as possible.
Although, selecting an API version below 23 could result in device limitations in functionality.
Step #6: Add the Library to the Project
Open the Import Module dialog, accessed by clicking File > New > Import Module.
The Import Module From Source dialog box will open.
Step #7: Select the Source Directory of the SDK
Ensure the Import checkbox is selected. Provide a name for the module (or leave the default suggestion in place). Then, click the Finish button.
Step #8: Specify the necessary plugins and dependencies in your Gradle file
Java Projects
For Java projects, the following plugins and depdencencies are required:
plugins {
    id 'com.android.application'
}

dependencies {
    implementation(files("../libs/ZSM.aar"))
}
Where the path to the ZSM.aar file is appropriate for your specific project structure. For an example, reference the build.gradle file provided in the example Java applications included with the SDK.
Kotlin Projects
For Kotlin projects, the following plugins and depdendencies are required:
plugins {
    id("com.android.application")
    id("org.jetbrains.kotlin.android")
}

dependencies {
    implementation(files("../libs/ZSM.aar"))
}
Where the path to the ZSM.aar file is appropriate for your specific project structure. For an example, reference the build.gradle.kts file provided in the example Kotlin applications included with the SDK.
Debugging & API Documentation
Debug Library
This SDK distribution also includes a debug version of the ZSM library (ZSM-debug.aar). This can be a valuable tool for local development and testing, as it includes helpful logs and debug symbols. The debug library SHOULD NOT but be used in a production deployment. An approach like the following can be setup in gradle for alternating between debug and release builds of the AAR:
- debugImplementation files('libs/ZSM-debug.aar')
- releaseImplementation files('libs/ZSM.aar')
IDE API Documentation
This SDK distribution also includes a zsm-javadoc.jar file that contains inline documentation for the SDK. This can be used to allow your IDE to show API descriptions and usage hints during development. It's optional and does not affect runtime behavior.
Here are the steps to use zsm-javadoc.jar in debug mode within Android Studio:
- Open Project Structure (
File > Project StructureorCmd/Ctrl + ;) - Go to the
Modules > Dependenciestab - Find the
ZSM-debug.aarentry - Click the pencil/edit icon ✏️ to edit the library
- In the dialog, click the “+” button next to “JavaDoc” and choose the
zsm-javadoc.jarfile